
Knife Maintenance Tips for Hikers Spending Days Off Grid

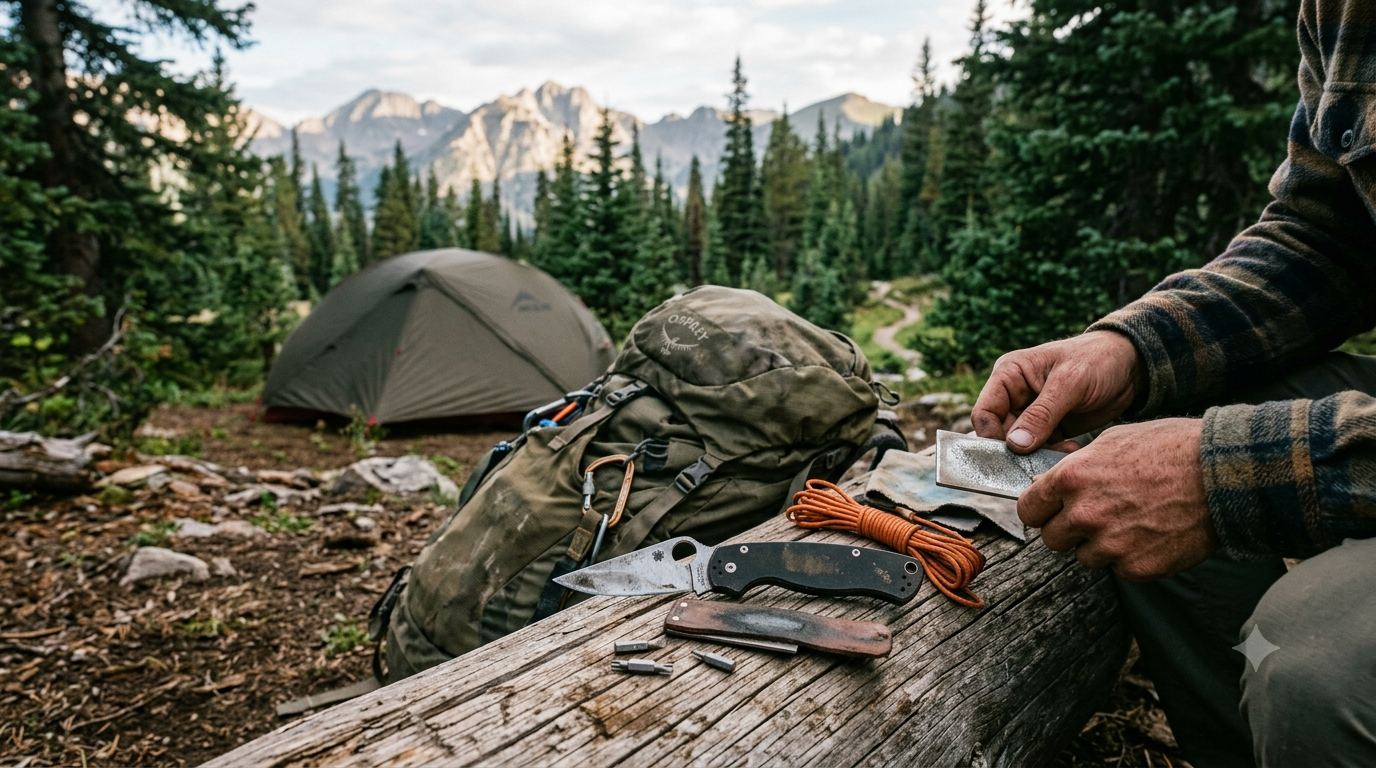
Day 6 of a nine-day route, the blade skates off a piece of paracord instead of biting into it, and the third attempt ends with the cord pinched between a thumb and a rock. Nothing about the knife has broken. The edge has rolled and may have picked up chips too small to see, and there is no bench, no vise and no power outlet within 40 miles. Everything that happens next has to fit inside a pocket and weigh under 3 ounces.
Field Sharpening Kit Weight
A workable field kit is one abrasive, one strop and nothing else. A credit-card diamond plate in the 600 to 1,000 grit range weighs about 1 ounce and can restore an edge that has gone dull without major damage. A small ceramic rod does similar work with a gentler cut. A strip of leather glued to a wooden paint stirrer, cut down to 4 inches, covers the polishing step at almost no weight.
Multi-stage folding sharpeners with aggressive pull-through carbide slots are the one thing to consider leaving behind. Carbide slots can remove steel quickly and may make precise edge control difficult compared with sharpening on an abrasive surface. On a 10-day trip, carrying a small plate that can maintain the existing bevel is usually the better trade.
The Three Sharpening Operations
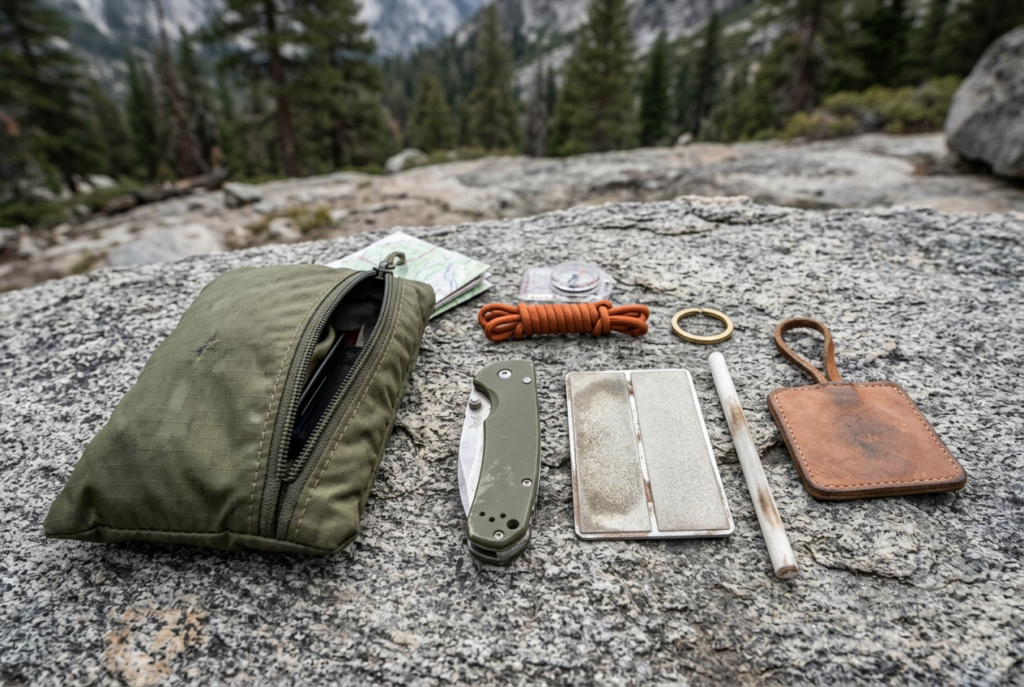
Field sharpening can be thought of as three operations: grinding, honing and polishing. Grinding uses coarse abrasives, often in roughly the 40 to 300 grit range depending on the abrasive standard, and exists to fix significant chips or reshape a bevel, which is usually bench work. Honing with a finer abrasive restores a dull working edge. Polishing with very fine abrasives, or with compound on leather, refines the scratches the honing left behind.
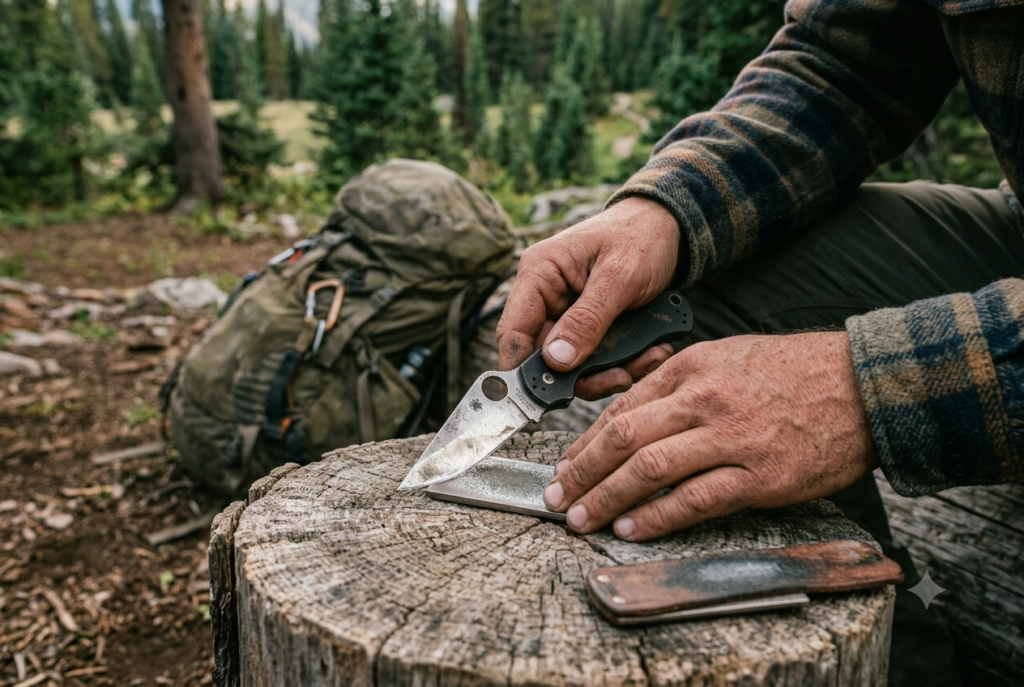
Honing is where a hiker will usually start. Anyone who has learned to sharpen at home already knows the basic sequence and can adapt it to a compact field setup. For a conventional flat-bevel edge, keep the existing bevel consistently against the plate, use controlled strokes on each side, and resist the urge to raise the angle simply to speed things up. A more obtuse edge angle can improve edge stability, but it may sacrifice some cutting performance, and that trade deserves a decision made in advance.
Burr Detection and Removal
The burr is a useful signal that the abrasive has reached the apex. Running the blade on an abrasive until a fine wire edge turns up on the opposite side indicates that the bevels have met at the cutting edge. Feel for it carefully by moving a finger from the spine toward the edge, never along the edge itself. If the burr runs the full length, it is time to refine and remove it rather than continuing to remove unnecessary steel.
Removing the burr is where field sharpening often fails, especially with custom everyday carry knives that may have distinctive steels or edge geometries. Some steels and edge geometries can produce a stubborn burr that a few light passes will not shed. Stropping the blade on leather with the edge trailing can help remove the remaining burr without unnecessarily rounding the apex. Use light, controlled passes and check the edge as you work rather than relying on a fixed number.
Causes of Edge Failure
Dulling can happen through several mechanisms, including microscopic chipping, rolling, wear and deformation. Hair is far softer than the steel that cuts it and can still contribute to microscopic edge damage, which helps explain why razors don’t stay sharp indefinitely. MIT metallurgists who imaged used razor blades found C-shaped chips missing from the edge, with damage influenced by factors including cutting conditions, steel microstructure and microscopic defects.
A trail knife faces a different set of stresses, but grit, hard cutting surfaces and repeated use can all accelerate edge wear or damage. That finding reinforces a useful field habit: touch up the edge before it becomes seriously dull. A short session with a compact diamond plate is much easier than trying to repair a badly damaged edge with an abrasive intended primarily for maintenance.
Pivot Cleaning on a Folder
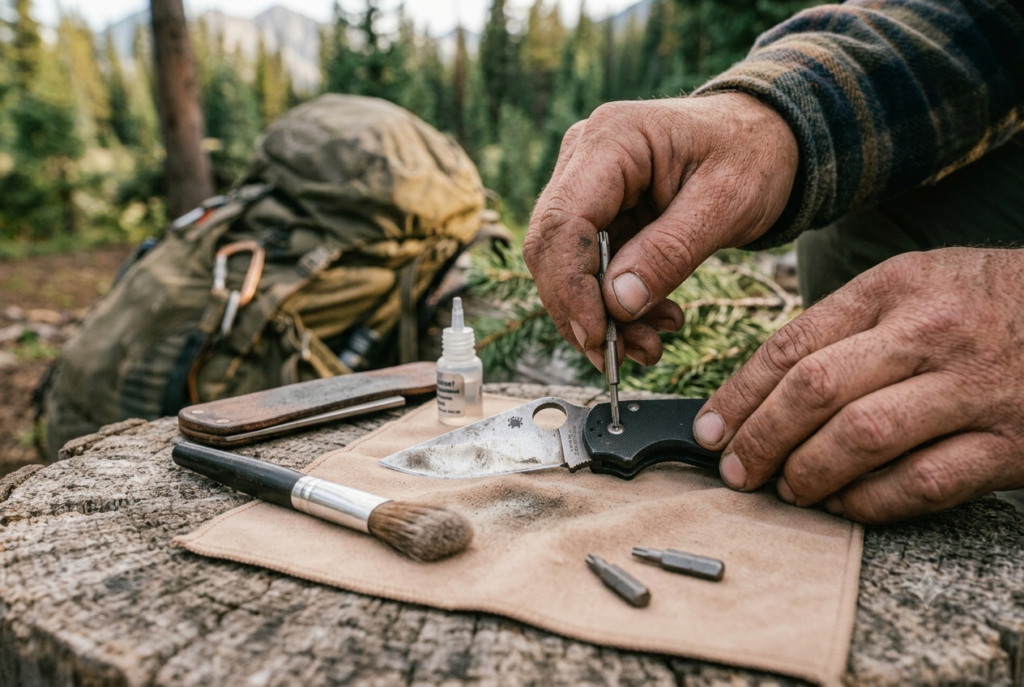
Grit in a pivot can become a serious problem on a long trip. Sand, pine sap and dried food can work into the pivot area and turn a smooth action into a gritty one that oil alone will not fix while debris is still there. Clean away contamination using a method appropriate for the knife and its manufacturer’s care instructions. If water is used, work the blade carefully to help free debris and make sure the knife is completely dry afterward.
Oil only once the pivot is dry. A small amount of suitable lubricant around the pivot, worked in by opening and closing the blade, is generally enough. Excess lubricant can attract dirt and grit, creating more maintenance problems rather than solving them. Different pivot systems also respond differently to contamination, so sandy or dusty conditions may require more frequent attention.
Screws, Loctite and Small Parts
A folder may have several screws, and repeated use and vibration can loosen hardware over time. Check the pivot screw, clip screws and body screws before the trip with the correct driver, since a stripped screw far from the trailhead can make adjustment or repair difficult. Where the manufacturer permits it, a small amount of removable blue threadlocker can help keep screws from working loose while still allowing later adjustment.
Carry the correct driver. The Torx or other bits that fit your specific knife weigh very little and belong in the repair kit alongside the tape and cordage. Field maintenance without the right bit can leave a pivot either too loose to operate reliably or too tight to open comfortably with cold hands.
Hand Injuries Far From Help
A dull or damaged blade in a tired hand can increase the chance of an accident, especially when extra force is used to make a cut. If a knife wound causes significant bleeding, apply firm, continuous direct pressure with clean gauze or cloth and avoid repeatedly lifting it to check the wound. Once bleeding is controlled, the wound should be protected from further contamination and assessed carefully.
Severe or uncontrolled bleeding, a deep or gaping wound, numbness, loss of movement, impaired circulation, or suspected tendon or nerve damage calls for urgent medical help and may require evacuation. In remote country, hikers should carry an appropriate first-aid kit and know their emergency communication and evacuation options before starting the route.
The Cost of a Dull Blade on Day 8
A hiker three days from a road with a chipped edge and no abrasive can lose useful gear-repair capability at the same moment and take on the injury risk that comes with forcing a blade that will not bite. A couple of ounces of maintenance gear and a few minutes of regular attention can prevent much of it. Skip that routine and the bill may arrive on the day the tent pole splits or the guyline parts in wind, which is the day the knife was carried for.
Frequently Asked Questions
How often should you sharpen a hiking knife on a multi-day trip?
There is no fixed schedule. Check the edge regularly and touch it up when cutting performance begins to decline rather than waiting until it becomes seriously dull. How often that happens depends on the steel, edge geometry, what you cut and the surfaces the blade contacts.
What is the best lightweight sharpener to carry while hiking?
A compact diamond plate or ceramic sharpener is practical for many trail knives. The best choice depends on the blade steel and edge, but the goal is a small abrasive capable of maintaining the existing bevel without adding unnecessary weight.
Should you oil a folding knife while on the trail?
Only when it needs it. Remove dirt and grit first, allow the pivot to dry completely if it has been cleaned with water, and then use a small amount of lubricant suitable for the knife. Too much lubricant can attract dust and debris.
Can you sharpen a hiking knife without taking it apart?
Yes. Routine edge maintenance normally does not require disassembling a folding knife. In fact, unnecessary disassembly in the field can create another problem by introducing dirt or allowing small screws and washers to get lost.
What knife maintenance tools are worth carrying off grid?
For most hikers, a compact abrasive, a lightweight strop if desired, and the correct driver bits for the specific knife cover the most likely maintenance needs. The exact kit should match the knife rather than adding tools that are unlikely to be used.
